Getting Your Heat Right in Glass R&D
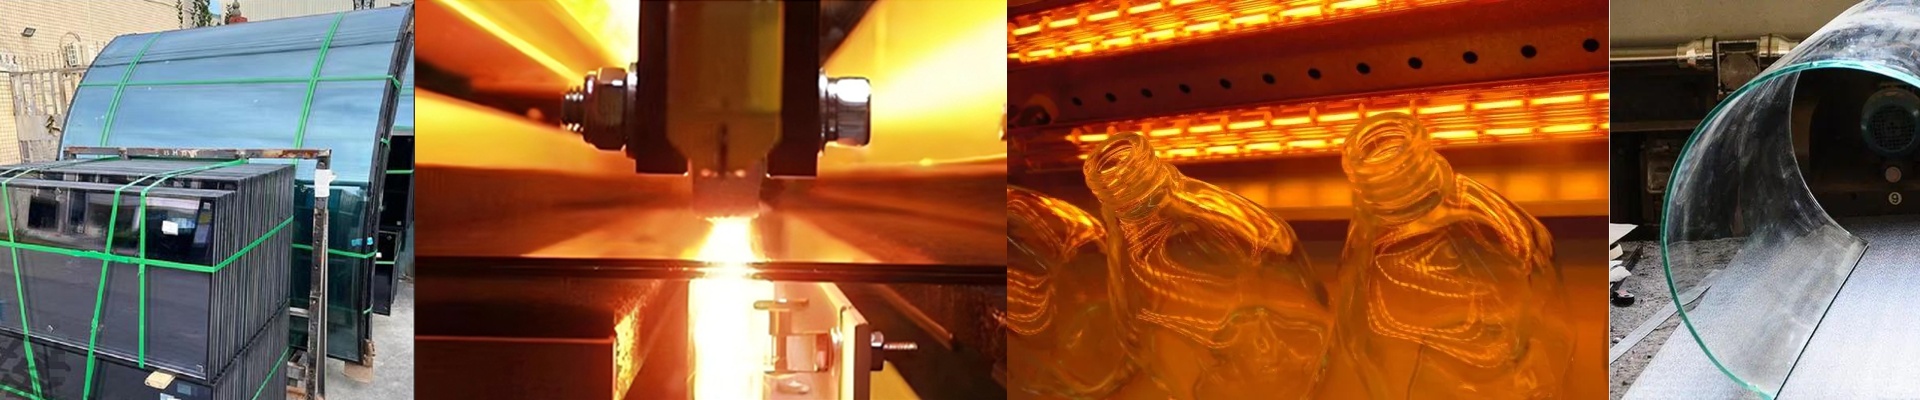
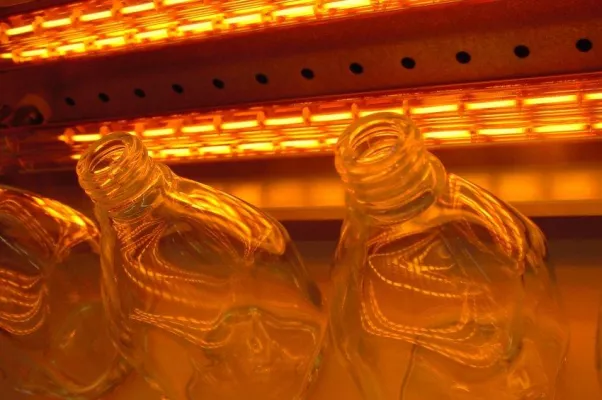
If you’ve ever tried to develop a new glass composition using standard, off-the-shelf heating lamps, you know the frustration. They just don’t cut it. In glass tempering, the preheating phase is everything. It’s what decides how the stress is distributed in the end. If your heat soak is uneven? The glass breaks. Simple as that. Most people try to fix this by just changing the length of the tube, but we do things differently. We focus on the power density. The trick to power distribution Most suppliers will sell you a lamp with the same wattage spread evenly across the whole thing. We don’t do that. By tweaking how the filament is wound or adjusting the voltage drop in specific zones, we can build “hot spots” or “cool zones” right into a single lamp. For R&D, this is a lifesaver. Whether you’re messing around with low-iron glass or a chemically strengthened substrate, you need to know exactly where the energy is hitting the surface. If you don’t, thermal shock will ruin your day. The nitty-gritty (and the trade-offs) We use high-purity quartz because it lets the IR transmission through without any fuss. You can tell us the wattage and voltage you need to fit your current power supplies, but there is a catch. If you push for extreme power density in a tiny footprint, the ends of the lamp take a beating. It’s a lot of thermal load. Just make sure your cooling blowers are actually doing their job, or you’ll be replacing burnt-out electrodes way sooner than you’d like. Actually putting this to work We like to give you “parameter freedom.” Basically, you tell us the specific W/cm linear power density you need to map out your heating curve, and we build it. When you plug these into your test rig, the thermal profile is predictable. It turns the preheating stage from a guessing game into something you actually control. Suddenly, when something fails, you aren’t wondering if it was the heating cycle or the glass chemistry itself. You’ll actually know.