Getting the Heat Right for Wine Glass Annealing
Here is the problem with off-the-shelf heaters: they’re too “perfect.” They give you uniform heat across the board. But if you’re working on wine glasses, uniform is actually your enemy. You need a gradient. You need to hit specific spots with more heat than others so you can bleed off internal stress without accidentally melting the rim or cracking the glass from thermal shock.
It’s All About the Map
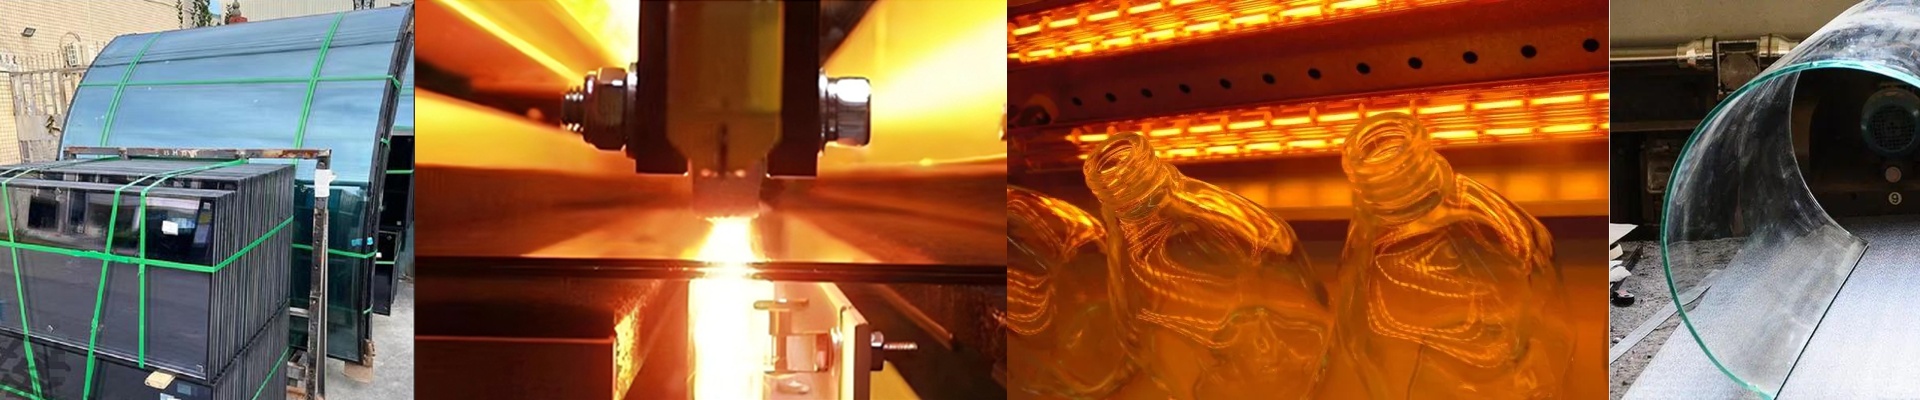
We don’t just tweak the length or the wattage and call it a day. We actually map out the power density. By playing around with the filament winding pitch and spacing, we can cram the heat into the bowl of the glass and let it taper off as it hits the stem. This is a lifesaver for those thin-walled sections that tend to burn out, while still making sure the thick base actually hits the annealing point. If you’re messing around with new glass compositions, just tell us exactly how many watts per centimeter you need for your thermal profile. We’ll make it happen.
Why Quartz Matters
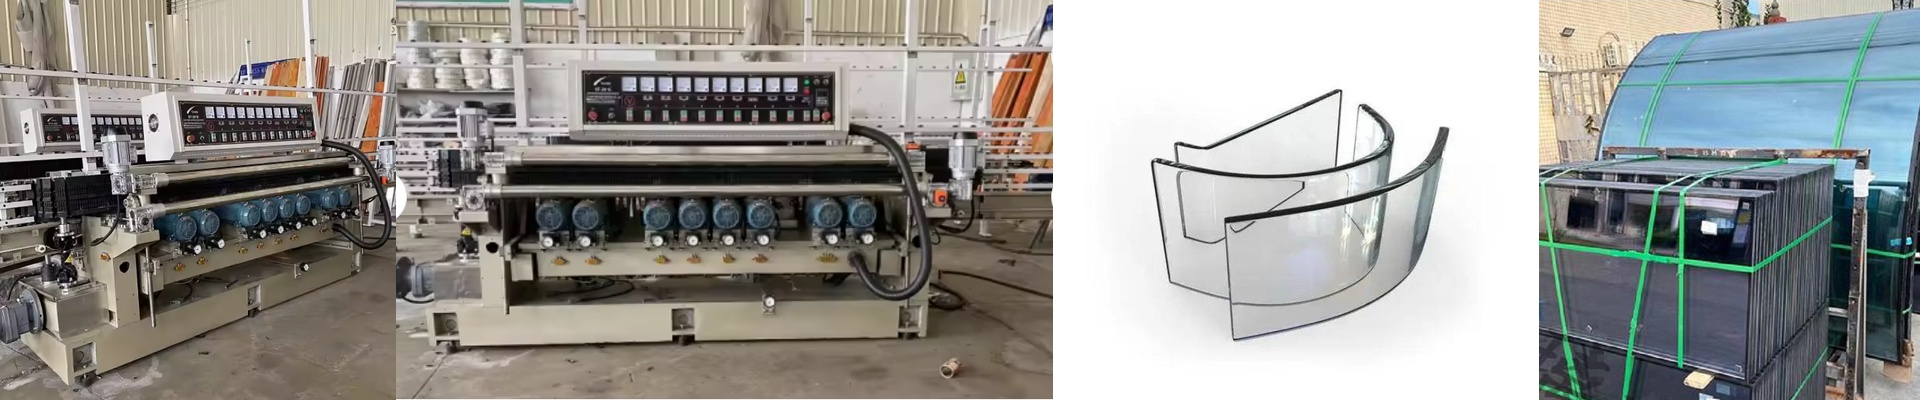
We use high-purity quartz envelopes because glasswork is brutal on equipment. But the real secret is the wavelength. We use shortwave infrared, which lets the heat soak into the glass rather than just scorching the surface. It means the glass spends way less time sitting in that “danger zone” of the annealing curve. It’s faster, and it’s safer.
The Practical Stuff
These are built to be drop-in replacements for your R&D rigs. We’ll even sort out the lead-wire configurations so they plug right into the controllers you already have. One quick heads-up, though. If you ask for extreme power density in a tiny footprint, you’re putting a massive thermal load on your housing. If your annealing chamber is compact and high-wattage, make sure your cooling fans or water jackets can actually handle that radiated heat. Otherwise, you’re looking at warped supports or fried sensors. We provide the raw power. You just have to make sure the room can breathe.